Monday, February 8, 2010

Brownie Cheesecake

We celebrated Dad and Little Brother's birthday last week, so I baked them a birthday cake. I've been meaning to try making the Brownie Cheesecake from my new book; it's a chocolate, baked cheesecake with a dense brownie base. Doesn't that sound wonderfully sinful? I actually bought the required ingredients a long time ago and was supposed to make it for Christmas dinner, but eventually ended up not having enough time to do so.

So anyway, the cake turned out really delicious. I was a bit worried, because there is no way of testing if a cheesecake is done, unlike for normal cakes, you just stick a skewer into the centre. My oven is rather small and is also fan forced, so I think it usually requires a lower temperature than those stated in recipes. I usually test for doneness using the skewer method, rather than following the recipe's time given.

This time, I had to trust the recipe and just follow the time. So, to reduce the margin of error, I made sure I had the exact pan size stated in the recipe. I went out to buy a 10 inch spring form pan just for this cake.

After baking for the stated amount of time, the cheesecake layer was firm and didn't wiggle when I shook the pan, so I presumed it was okay. However, when we ate the cake, the brownie base was more like halfway between cookie dough and biscuit base than cake. You could feel the crunch of the sugar. Don't get me wrong, it was yummy and went well with the cheesecake layer, I'm just not sure if it's meant to be like that, or if I undercooked it or something...

Anyway, everyone liked it, so I'll still make it the same way the next time I try this. There should be a next time, if I'm not too lazy :)


So here's the recipe from my book. The method is really easy if you have a food processor, but I unfortunately do not. (Almost went out to buy one just for this!!) I just used a wooden spoon and plenty of elbow grease. I also left out the pecans because it's impossible to find any here!


Linda Collister's Brownie Cheesecake

Base:
250g unsalted butter, chilled and diced
250g caster sugar
200g plain flour
50g cocoa powder

Topping:
200g good-quality plain chocolate
400g full-fat cream cheese
2 large free-range eggs
60g caster sugar
1/2 teaspoon real vanilla essence
200ml double cream
50g pecan halves
cocoa powder, for dusting

a 23cm spring-clip tin, greased

Method:
Preheat the oven to 170 degrees Celsius. First make the base: put the pieces of butter, sugar, flour and cocoa into the bowl of a food processor and process until the mixture comes together to make a thick paste.

Tip this mixture into the prepared tin and press onto the base to make a thick, even layer. Chill while making the topping.

Break up the chocolate and put it in a heatproof bowl. Set the bowl over a pan of steaming water and melt gently, stirring frequently. Remove the bowl from the pan and stir until smooth. Leave for 5 minutes to cool.

Put the cream cheese, eggs, sugar and vanilla into the bowl of the food processor. Process until thoroughly combined, scraping down the sides from time to time.

With the machine running add the cream through the feed tube, followed by the melted chocolate. When completely mixed, pour the mixture onto the base and spread evenly. Finish by scattering over the pecans.

Stand the tin on a baking tray then bake in the preheated oven for 40 minutes until just firm. Turn off the oven but leave the cheesecake in the oven, without opening the door, to cool down.

Then remove the cheesecake from the oven and chill at least 4 hours (preferably overnight) before removing from the tin. Dust with cocoa and serve.

Store in an airtight container in the fridge and eat within 5 days.


I decorated it with some leftover ganache I had and practiced my awful piping skills. Thank goodness for colorful candles and ribbons which always prove so useful!


Wednesday, January 20, 2010

Princess Tiara Fondant Birthday Cake


My niece Alaena celebrated her 5th birthday last Sunday. She's a pretty, young lady who loves looking beautiful! So I knew she would love a girly tiara cake full of sparkle and fluff!


I baked two round American Chocolate cakes. The bottom tier was 9" and the top was 6". I covered the tiers with purple and pink fondant.


The tiara is hand made from gumpaste. I initially intended to use a plastic toy tiara, but couldn't find one! I had no time to go around searching, because we were busy with house renovations and also a close friend's wedding. Thus, I made the tiara, without knowing if it would harden right and turn out okay. Luckily it turned out fine, though I had to use 3 toothpicks for extra support.

I also only had 2 hours to assemble the cake, as we had partied till 3-4am the night before, after the wedding dinner! Thank goodness for toothpicks; an essential and oh-so-flexible cake decorating tool! (If you look carefully you can see that the cake is also slanting a bit! I had no time to rectify that!)

The whole cake is edible except for the toothpicks, the pink fur trim at the bottom, and the dowel rods in the bottom tier which is used to support the top tier.

I love the overall look of the finished product.


Monday, January 11, 2010

Ben 10 Birthday Cake


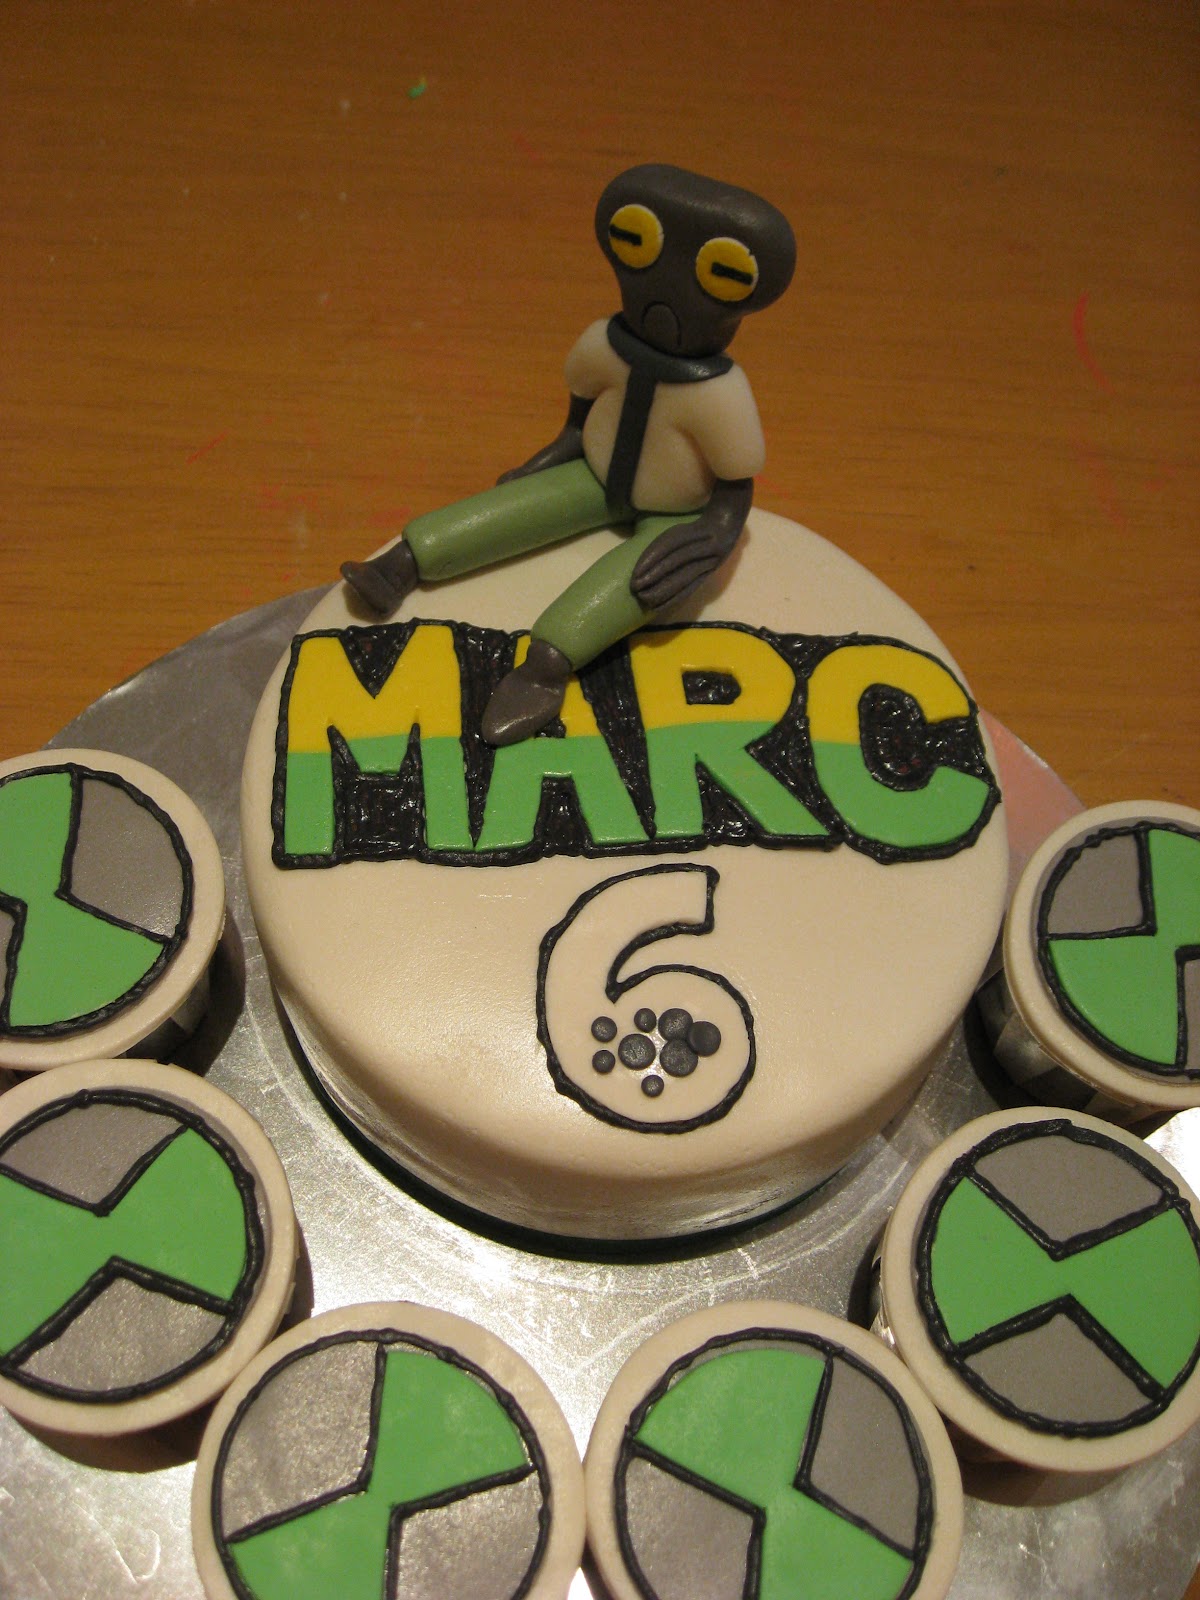
My nephew Marc celebrated his 6th birthday on Sunday. I seldom make cakes for boys, because my children and my sisters' children are mostly girls! The girls outnumber the boys by 2:1!

So anyway, Marc loves Ben 10, so I went on the internet to find some Ben 10 related pictures.


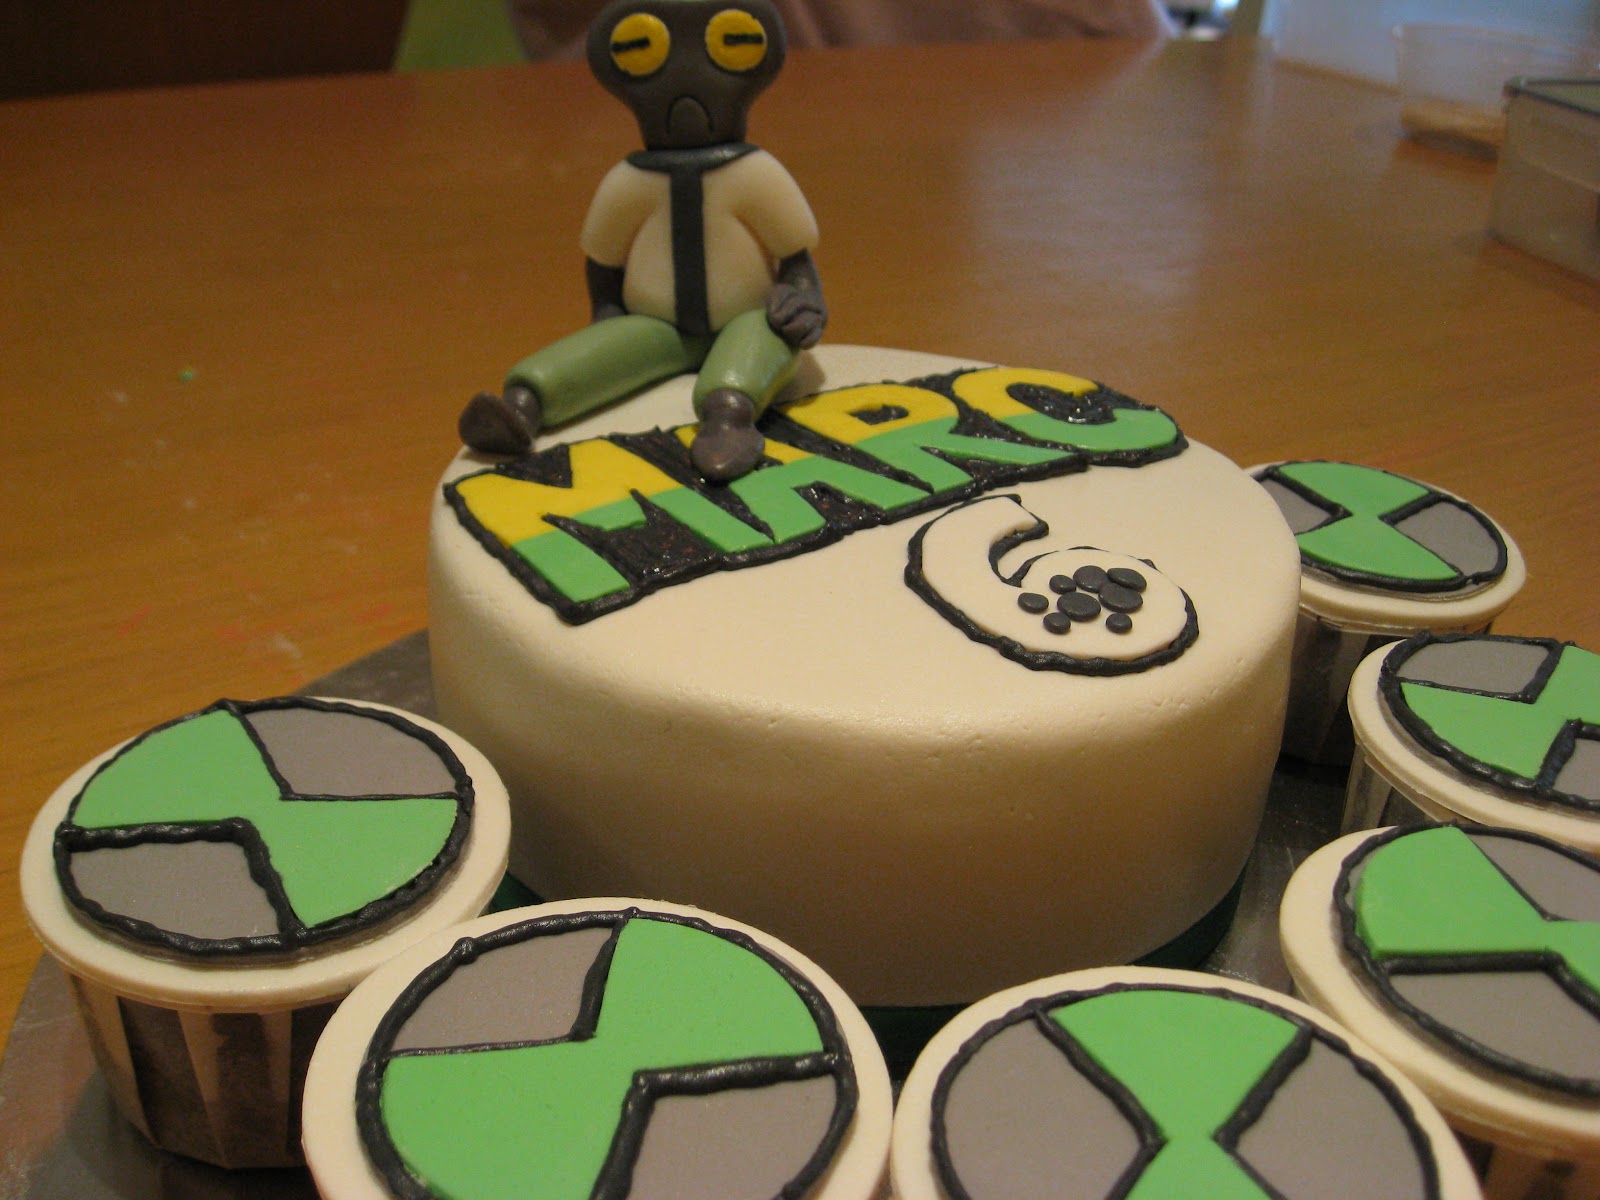
The kids tell me this guy is called "Grey Matter". He's one of the aliens Ben 10 can turn into. I just picked him because he's the easiest to make!! The others have too many arms, eyes, e.t.c.! I made this guy from fondant and he has a toothpick in him for a little support. For the eyes, I had the help of my handy food markers.


I made a 6 inch round chocolate cake, which I covered in white fondant. I wrote "Marc 6" instead of "Ben 10" by cutting fondant free-hand. The black outlines and filling-in was done with royal icing, because I find tinting fondant black is just too much hard work!

I also made 6 chocolate cupcakes and covered them with a simple fondant 'omnitrix' design. One for each candle.


Monday, January 4, 2010

Bittersweet chocolate ganache


I made a chocolate ganache out of Cadbury's Old Gold Dark Chocolate which has 70% content of cocoa. It was luxuriously rich and delicious. The only thing is it isn't sweet, so if you prefer your ganache a little sweeter, you'll have to add a bit of sugar, or use a chocolate which has less cocoa content.


Bittersweet Chocolate Ganache
Ingredients:

200g Cadbury's Old Gold Dark Chocolate (70% cocoa)
1 cup (250ml) whipping cream


Method:
  • break chocolate into small pieces
  • melt chocolate in a bowl fitted over a pan of simmering water
  • allow chocolate to melt without stirring
  • when completely melted, remove chocolate from heat
  • allow to cool slightly
  • beat cream into chocolate until well mixed

The consistency of the ganache hardens upon cooling. Therefore, if you want to cover a cake by pouring fondant over, you can do so while it is still slightly warm.

If you want to pipe the ganache however, you can refrigerate it awhile for it to firm up. Be sure to place a layer of cling film over the surface of the ganache to prevent a crust forming while in the fridge.

Trust me, if you love dark chocolate, you'll simply adore this!


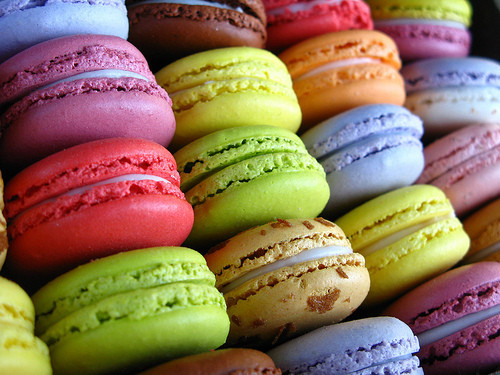
Macarons

Gosh! Look at these? Aren't they the most precious cookies you've ever seen? The gorgeous colours and the perfectly smooth round mounds are simply exquisite! I found this pic from www.champagnemacarons.blogspot.com.

No, of course I did not make these perfect creations! They're just so breath-taking I wanted to share with my fellow sweets junkies. You can get the recipe here if you want to have a go.

These are macarons, a french almond cookie. From what I've read, they are rather challenging to make. But they're just so beautiful, I absolutely have to try making them one day.

When I do work up the courage, I will make them and you'll definitely see it here... unless of course they end up looking like blobs of poop, then I'll just pretend I never tried!! :P


*swoooon*
These are from www.savethedatewp.blogspot.com

Tuesday, December 29, 2009

Teddy Bear Anniversary


Hubby and I and Sis no.4 and her hubby got married on the same day on 27/12/00. So we recently celebrated our 9th anniversary.


I made a boy and a girl teddy bear from fondant. I used store bought fondant, so it was quite easy to handle. However, I added in the gum tragacanth a few days earlier, so it made the fondant a bit harder to work with. This explains the cracks which I couldn't, for the life of me, knead out without getting carpal tunnel syndrome.


I placed the cutie bears on a scalloped circle of white fondant and wrote 'Happy Anniversary' using a fine-tipped food marker.


The cakes are chocolate cake covered in dark chocolate ganache. I used Cadbury's Old Gold chocolate for the ganache and it was heavenly! For the mini cakes I piped on the ganache using the large star tip and just placed a jumbo heart sprinkle on top.

Cuteness!!


Monday, December 28, 2009

Merry Christmas Cuppies


Here is a set of fondant cuppies I made for another night of carolers. They are American chocolate cake cupcakes topped with fresh cream, then covered in fondant.


This sprig of holly was simply made using the holly leaf cutter. The berries are just rolled balls of red fondant.


This one was the easiest. I just imprinted the snowflake design using the snowflake stamp I bought.


The candy cane was the most work, yet still easy. I made two ropes of fondant, one red and one white. Then I twisted the two ropes together then rolled them on my work surface until it merged into one smooth rope. Then I cut portions of the rope and bent them into cane shapes.


 This small sprig of holly was made the same way as the larger one, just using the small cutter.

And here you have them...

Chocolate Rum and Chocolate Orange Cake Balls


I had plenty of chocolate cake scraps leftover from my snowman cakes, so I decided to make cake balls. The first thing that came to mind was chocolate rum cake balls. Then I had to think of a child-friendly alternative for the many sweet-toothed kids in the extended family, all home for the holidays. Thus I decided to go with chocolate orange cake balls as well.


The chocolate rum cake balls and chocolate orange cake balls were served on this funky "Santa on a tropical holiday" serving platter. They were for ourselves, our guests, and also the carolers who were coming around.

I made them by feel and taste, so I unfortunately cannot provide the exact measurements of the ingredients that went into these cake balls. Anyhow, I'll list out what I used and you can make them according to your personal taste.


Chocolate Rum Cake Balls
  • chocolate cake scraps
  • icing sugar
  • cocoa powder
  • raisins soaked in rum
  • more rum
  • melted unsalted butter

Chocolate Orange Cake Balls
  • chocolate cake scraps
  • melted unsalted butter
  • icing sugar
  • cocoa powder
  • orange oil
Basically you just dump everything into a big bowl and mash it up with your hands until it becomes a soft dough which holds its shape. If it is too wet, you can add more cocoa powder and sugar. If it is to dry, you can add more melted butter. Refrigerating the dough for about half an hour also helps firm up dough that is too soft.

Then, just roll the dough into balls and coat them with cocoa powder, icing sugar, crushed nuts or even sprinkles. Simple to make, yet decadently delicious!


Wednesday, December 23, 2009

Frosty the Snowman cake


Meet Frosty the Snowman. I made him and his twin brother from store-bought fondant so it was a breeze.


For this one, I just plopped Frosty on a white fondant covered cake and tied a maroon ribbon round the base.


This second snowman I placed on a cake which was also covered in white fondant. This time I imprinted the fondant covering with snow flake patterns.


Both are yummy chocolate brownie cakes with delicious Nutella filling and crumb coat.

Wednesday, December 16, 2009

Gingerbread Men Gift Sets


I've had a leftover batch of lebkuchen dough in my freezer for ages. I was over-ambitious the last time I made lebkuchen and whipped up double the recipe in one go. Only after baking the first portion, did I discover how tough the cookies were, and how the kids did not fancy them at all! Thus, I was left with one recipe of unbaked lebkuchen dough sitting in the freezer.

I was in a quandry, because if I turned the dough into cookies, I'd just be stuck with a whole batch of unwanted cookies. Yet I couldn't throw the prefectly good dough away. So I decided to mix that one recipe of lebkuchen with one recipe of sugar cookie dough, hoping that it would make the cookie softer and less spicy.

Well, thank goodness that idea worked and I ended up with another whole batch of gingerbread men to decorate!


This time I decided to try royal icing, because I had a can of Wilton meringue powder which I had yet to try. (You can use raw egg white too if you are not worried about Salmonella.) I was very pleased that whipping up the royal icing proved simple enough.

Here's the recipe: (I only made half portion because I didn't need much)

Royal Icing


3 tbsp meringue powder
4 cups (1 lb) icing sugar
6 tablespoons warm water*

(makes about 3 cups of icing)

Beat all ingredients until icing forms stiff peaks (7-10 mins at low speed with a heavy-duty mixer, or 10-12 mins at high speed with hand-held mixer)

*For stiffer icing, use 1 tablespoon less water.


I was extremely happy with how simple it was to make and use royal icing. I love its light texture which made it easy to pipe, and its perfect whiteness is gorgeous. It also dried up real fast. The only downside is if you use a lot, it's taste and texture when dry it's all that great. It also doesn't have a shiny finish like cookie glaze. However, I still think royal icing is the best for outlines and attaching candy and other decorations to the cookie.


All dressed up and ready to go.


Christmas gift sets awaiting delivery.
Related Posts with Thumbnails